

Exploring AWS !!
Day 19:
VPC Hands-on: Part 1
Task:
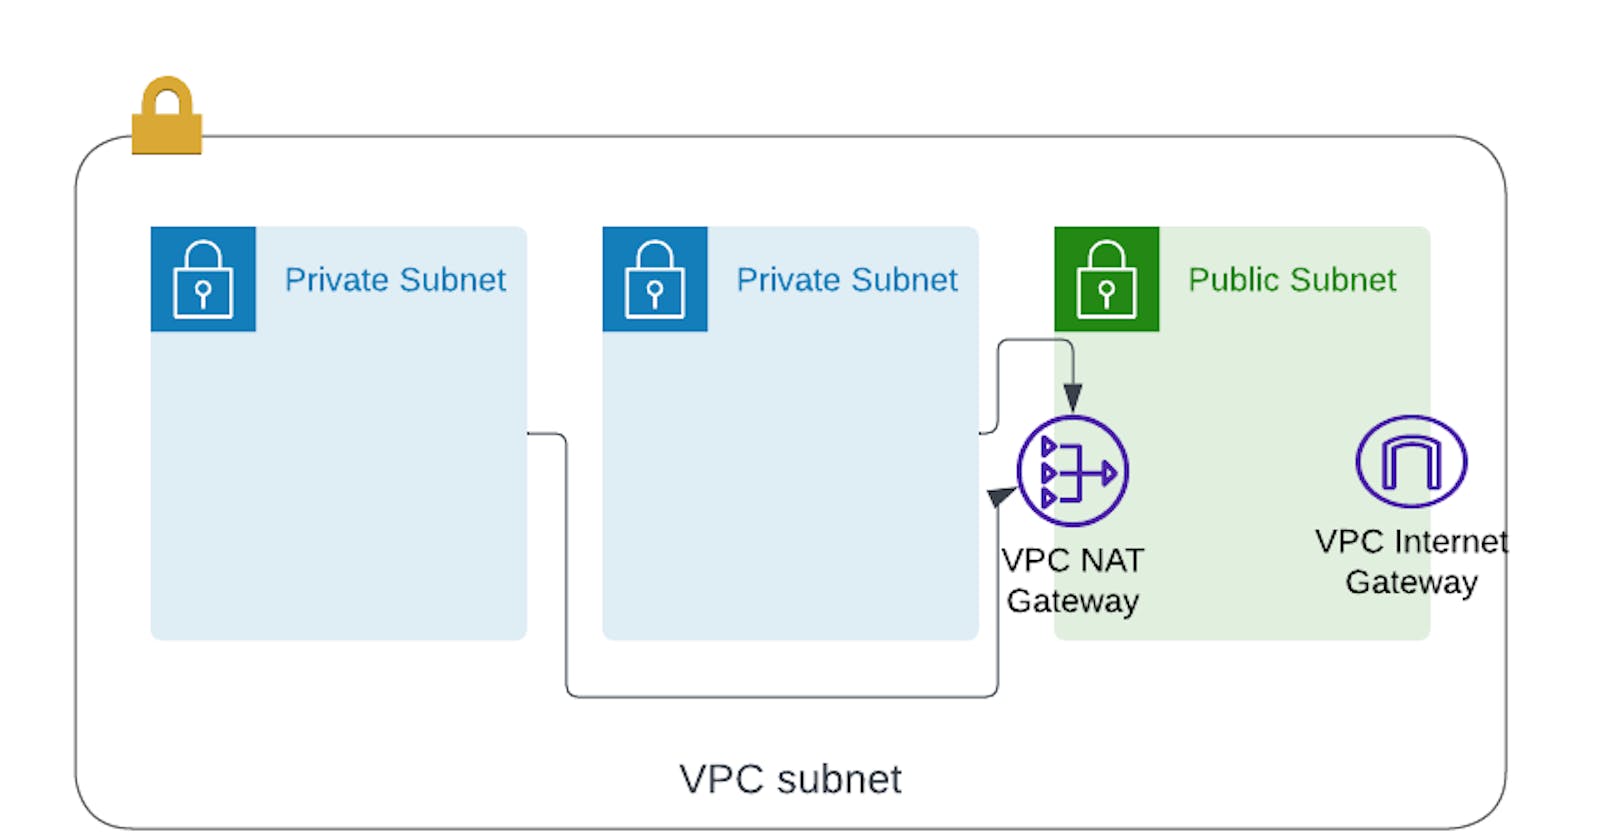
1. Create a VPC with 120.0.0.0/16 CIDR block
2. Create 1 public subnet, 2 private subnets and make sure you connect a NAT gateway for internet connectivity to private subnet
Now follow the below steps to complete the given task:
- Create VPC.

2. Create total 3 subnets — 2 private and 1 public

3. Go to Actions → Edit subnet settings → Enable auto-assign → Save
This will make the subnet public

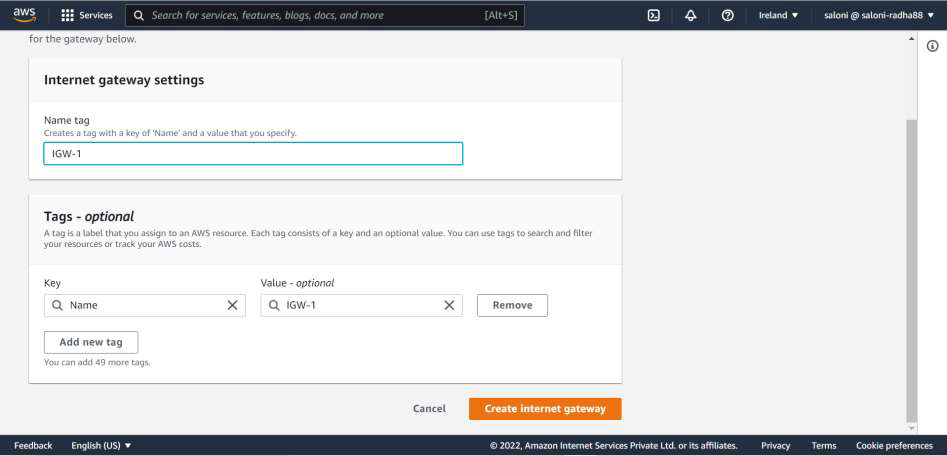
4. Go to Internet Gateways and click Create Internet Gateway

5. Give proper name and click Create.
6. Go to Actions→ Attach VPC

7. Attach VPC and click on Attach

8. Click on Route Tables→ Edit Route→ Add route→ Internet gateway and Save

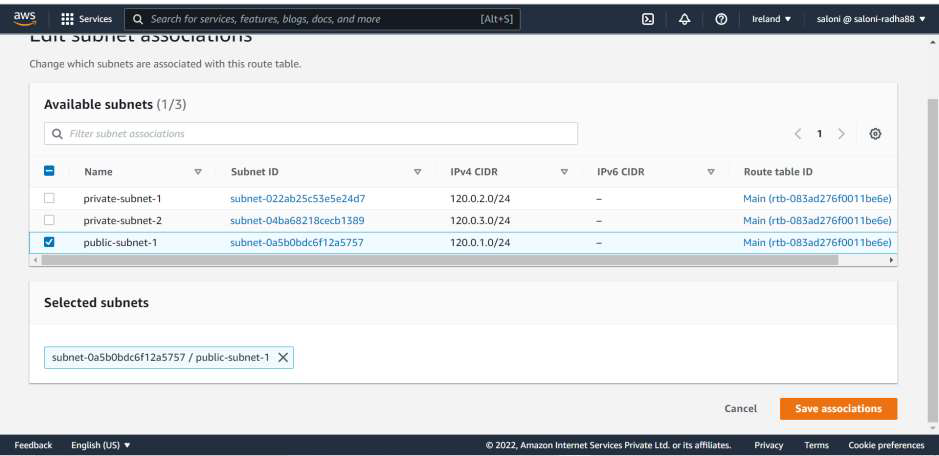
9. Select subnet association and select the public subnet and click save
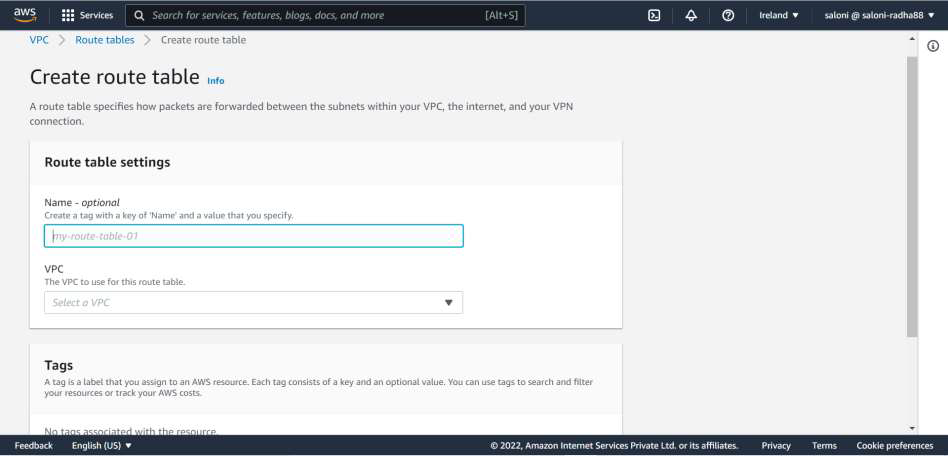
10. Create a route table for private subnet
11. New route table will be created for private subnets

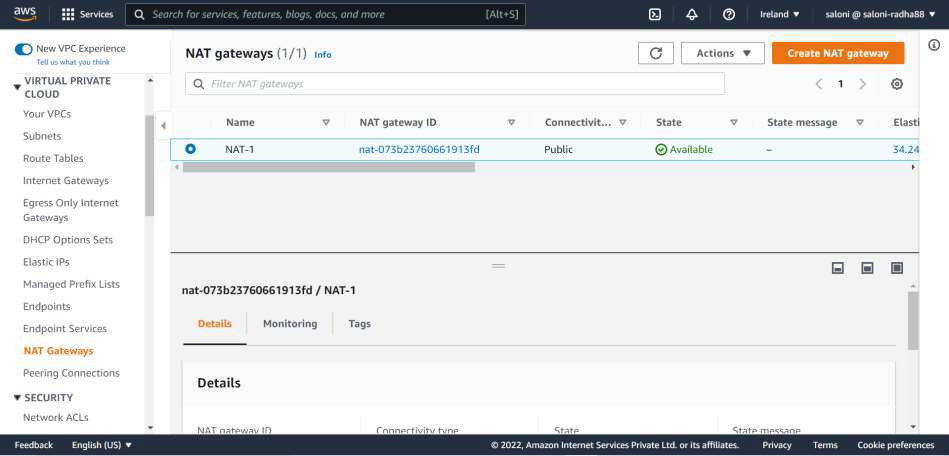
12. Go to NAT Gateways and click create
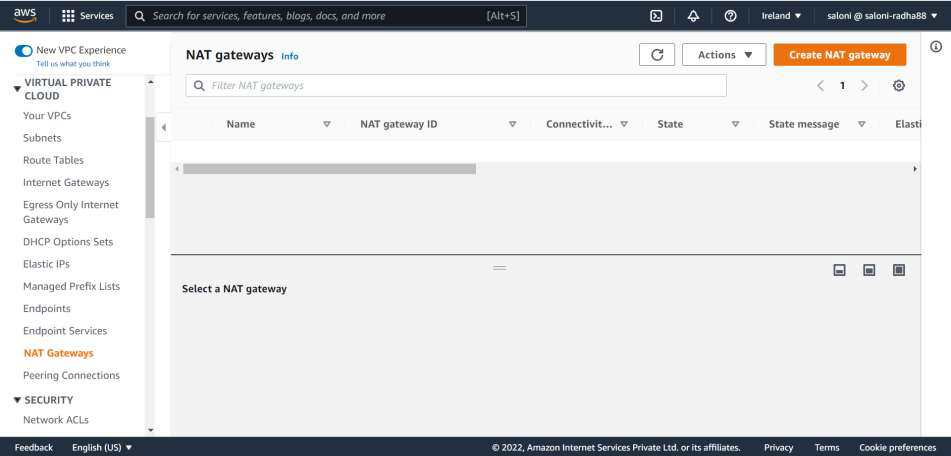
13. The NAT Gateway is created.
14. Click on private route in Route table

15. Add the NAT route

16. Edit subnet association and add Private subnets

17. The routes are ready now.
